Drawism is not a recognized art movement, a technique with a manifesto, or something you will find in a textbook. It is our word for treating drawing as a plain, regular habit instead of a talent you either have or lack. Wikipedia’s overview of drawing describes it simply as marks made on a surface with graphite, ink, or charcoal, and that description is the whole point: no special gift is required. Drawing was historically regarded as the foundation for artistic practice, and drawism takes that foundation and strips away the pressure. Our Saturday-table version looks like this: one pencil, one cheap pad, one ordinary object, ten minutes, a few times a week. When we looked into the term we found it used loosely elsewhere. Drawism is also a popular creative brand focused on accessible art and visual expression. Our use is just a couple of hobbyists figuring things out at the dining table, not an authority’s definition.
Explain Why Drawism Works for Busy Adults
We clear the dining table most Saturdays, pull the good lamp out of the closet, and draw for a while. That is the whole process. There are many reasons busy adults never start a creative hobby, but the biggest one we ran into was time. Ten minutes while the kettle boils beats a three-hour session we keep postponing. Drawing is a slow process before seeing big results, and most beginners spend time acquiring basic drawing skills first, so short sessions that actually happen matter more than long sessions that do not.
Our early ambitious projects flopped. Dale tried a portrait from a photo in his second week and produced something the family still jokes about. Shrinking the goal is what changed everything. Small projects reduce creative pressure, and a quick sketch of a shoe feels manageable in a way that a full portrait does not. Most people assume they need a free afternoon. They do not. They need ten minutes and something to look at.
Begin With Cheap Supplies
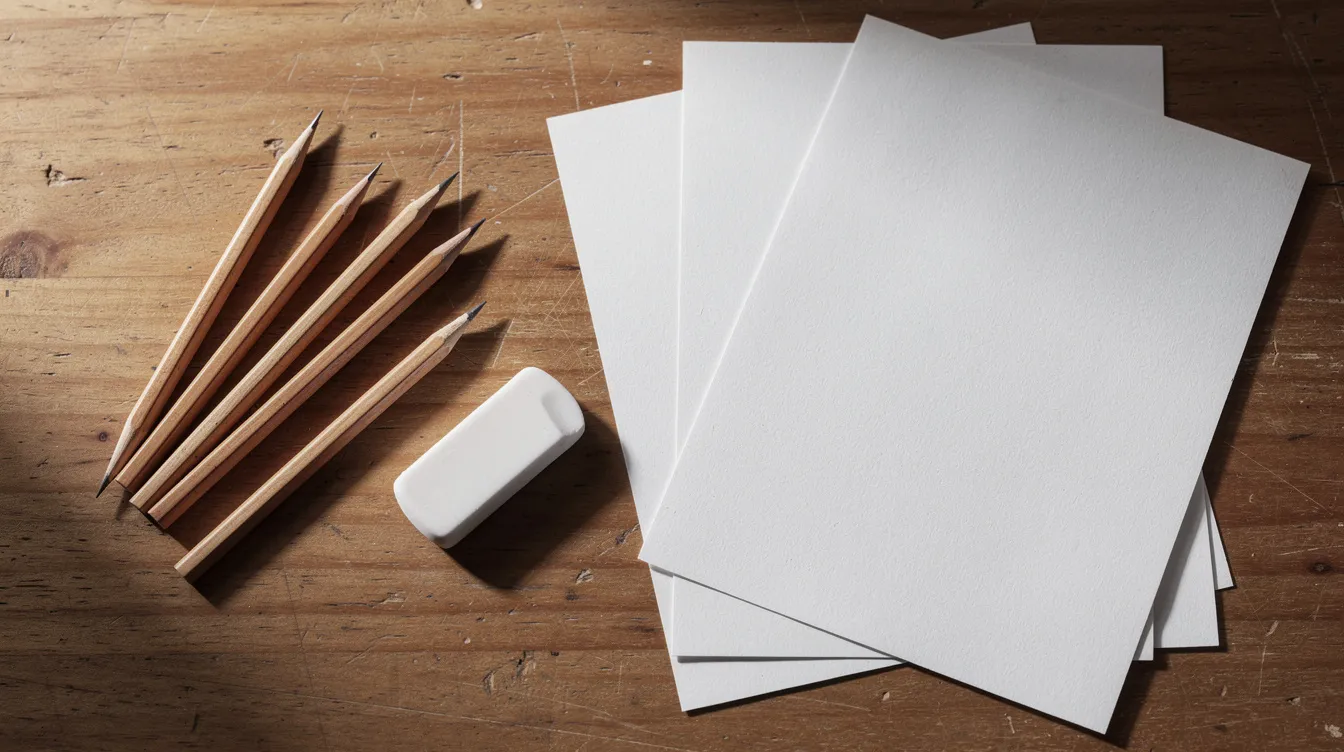
You can start drawing with basic supplies like pencils and paper. Many drawing techniques require only inexpensive materials, and drawing can be done on various surfaces like newsprint or cardboard. We wasted money early on buying sets we barely opened. Here is what actually gets used:
-
1 HB pencil and 1 softer pencil (2B or 4B)
-
A kneaded eraser or basic rubber eraser
-
Ordinary paper (printer paper works fine)
-
A pen for when you feel like ink instead of graphite
That is the whole checklist. Eventually you might want a sketchbook with heavier paper, a set of colored pencils, or a blending stump. But none of that is worth buying until you know you enjoy sitting down to draw. The material cost of starting is close to nothing, and the tricks that make early drawings better are about observation, not expensive tools. Delay the big purchases. The cheap pencil will teach you more than the fancy one you are afraid to use. We put together a short list of what beginners actually need if you want the details.
Set Up a Temporary Drawing Space
Our craft bin lives in the hall closet. On Saturday morning it comes out, the table gets a sheet of scrap paper for protection, and the lamp goes at the left side. The position matters: a comfortable chair, the pad flat or slightly tilted, and a light source that does not shift every few minutes. Store supplies somewhere easy to grab. If setup takes longer than a minute, it becomes a barrier and the session does not happen.
Try Easy Drawing Tutorials Without Chasing Perfect Results
Beginner-friendly tutorials help individuals sketch everyday objects without prior art training, and that is exactly where we suggest starting. Pick a subject with a clear, recognizable shape: a leaf, a flower, or a deliberately boring object like a kettle. If the drawing turns out badly, you cannot blame a hard subject. For a wider look at the basics, read our beginner’s guide to drawing.
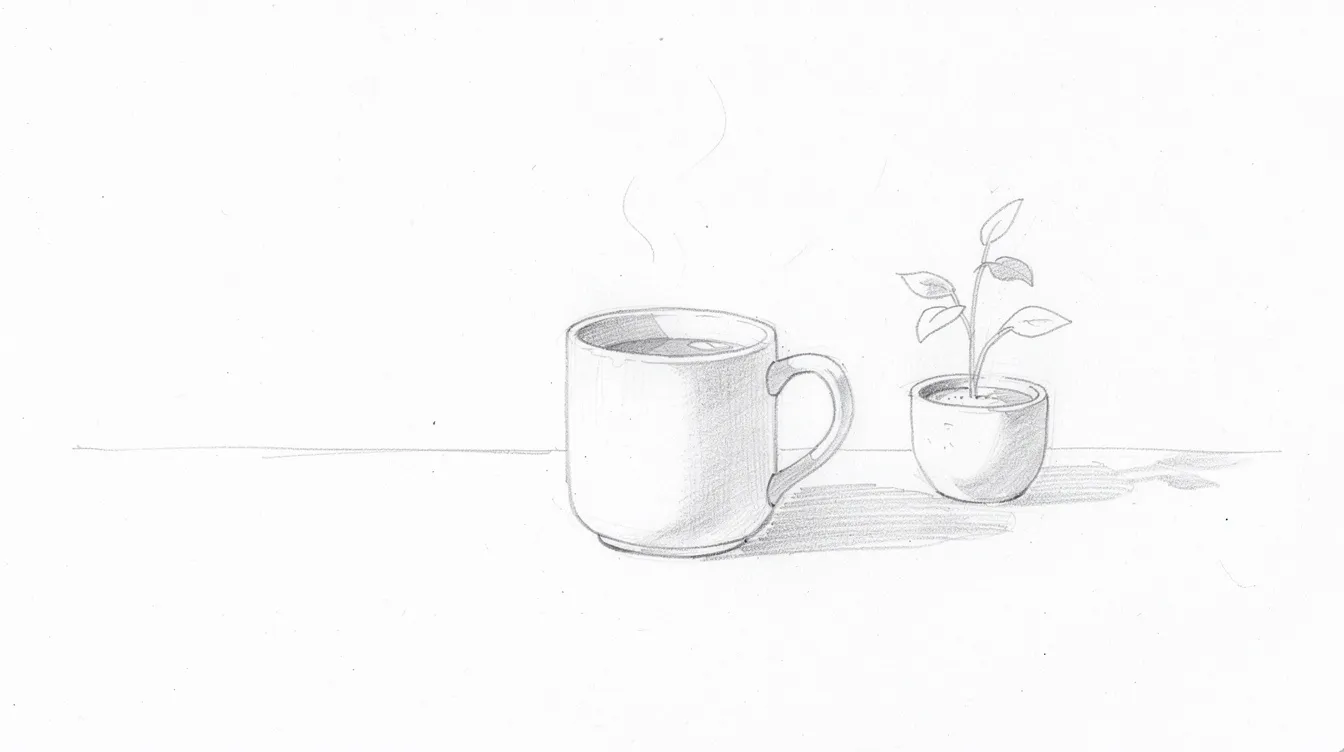
Observation and analysis of subjects are critical before executing a drawing. Draw what you see, not what your brain insists is there. For example, our brains will figure a mug has a tidy oval on top even when the mug is tilted at an angle, and the actual shape is a narrow sliver. Understanding basic geometric forms enhances the representation of complex subjects, so look for the cylinder inside the mug, the sphere inside the apple. Easy drawing tutorials almost always start with these shapes before moving to anything harder.
Repeat one object several times. Each attempt shows you something new about perspective, depth, and dimension that a single try never will. The discovery happens in repetition.
Use Simple Exercises to Build Confidence
Key drawing techniques include loose outlining and rhythmic doodling. Here are three exercises we come back to:
-
Five-minute lines: draw straight lines, curves, and loops from the shoulder, not the wrist. This builds motor skills and loosens a tense grip.
-
Shape practice: draw a cube, a sphere, and a cylinder. Focus on proportion and edges. These basic principles show up in every object you will ever sketch.
-
One-value shading drill: shade a strip from white to your pencil’s darkest tone. Slow, even pressure. This teaches control before you try shading a real form.
Progressive iteration encourages simple doodles and trial-and-error in the drawing process. Keep every attempt, dated, and do not tear out the bad ones. Your first drawings will not be your best, and that is the point.
Keep a Sketchbook Without Creating Another Obligation
We started with loose sheets scattered across the table, and after a few weeks moved into one book so the pages stayed together. A sketchbook is basically a journal for drawings, not a gallery. Date each drawing and write one useful observation: “light hit the left side,” “proportion off on the handle,” “shading too harsh.” These notes teach you more than the drawing itself. If you are thinking about starting a sketchbook, try a cheap one first.
We made the mistake of buying a book so nice we were afraid to draw in it. That beautiful sketchbook sat untouched for two months. Use something cheap, leave blank pages for unfinished ideas, and treat the whole thing as a working record. Your first drawings are unlikely to be your best. That is fine. The sketchbook is a tool for development, not an exhibition piece.
Treat Drawing as Creative Wellness Practice
Drawing can work as a calming personal routine. When we sit down to sketch, the focus narrows to what is in front of us: the textures of a leaf, the way light wraps around a shape, the weight of the pencil. Art as wellness uses drawing as a tool for mindfulness and mental health relief, and doodling is a therapeutic and accessible creative hobby. Creative wellness tips belong in this category, not in the category of medical treatment.
Notice your attention during each session. If the practice starts to feel frustrating, take a break. Walk away, come back another day. Drawing should not produce another source of stress. Importantly, drawism emphasizes low-pressure creativity and relaxation through art, not dedication to perfection. Creative accessibility reduces the intimidation associated with learning to draw.
Approach Art Therapy Language Carefully
We are hobbyists, not therapists. Art therapy is a professional practice led by trained practitioners, and we are not prepared to promise mental health benefits from a Saturday sketch. Art therapy and mindfulness involve using drawing exercises to manage stress and combat burnout, but that work belongs to professionals. What we can say is that drawing feels good for us as a mental reset, and we leave it there. Creative burnout is real, and pushing too hard at a hobby can cause it just as easily as a job can.
Practice Graphite Shading Without Overcomplicating It
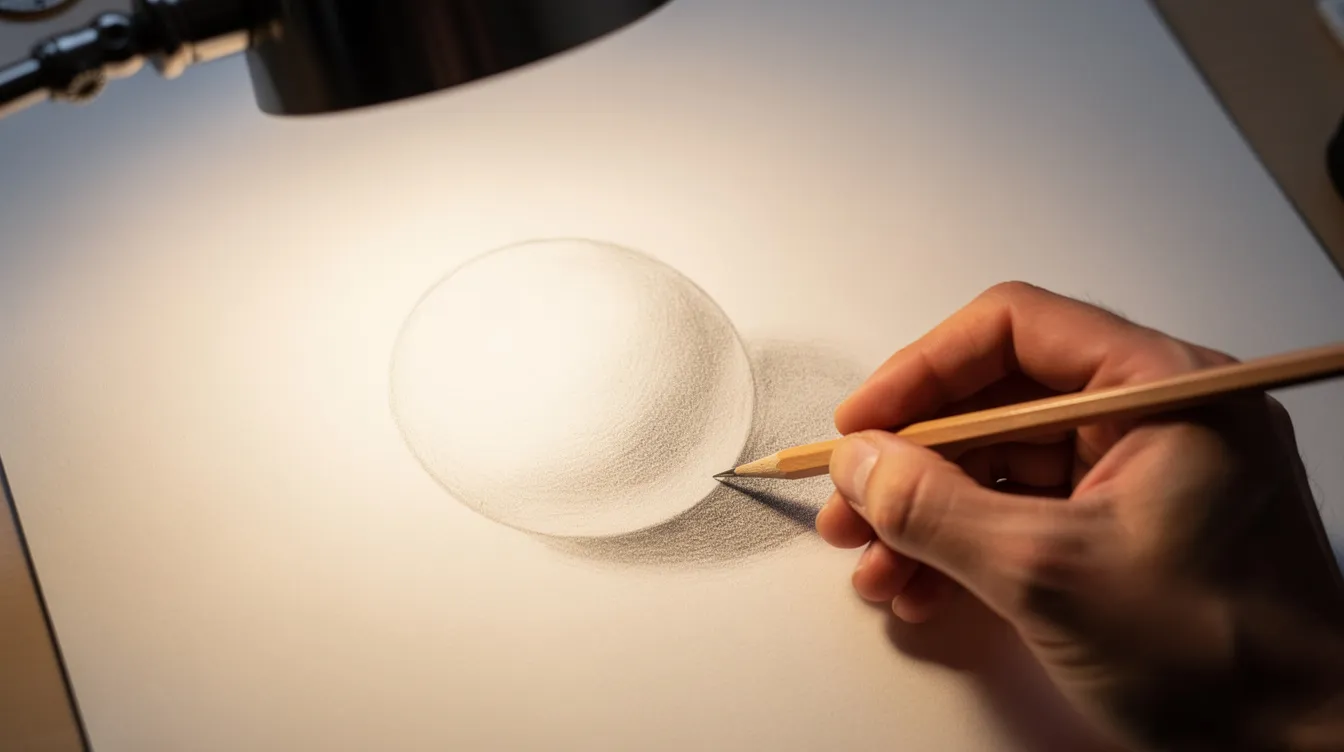
Drawing requires understanding basic concepts like anatomy and shading, but you do not need to master everything before picking up a pencil. Start with a three-value exercise:
-
Decide where the light source is (left, right, above).
-
Shade the side facing the light as your lightest value.
-
Shade the opposite side as your darkest value.
-
Fill the middle with a mid-tone.
Apply this to a simple sphere. Light direction changes the entire image of the form: move the lamp, and the shadow moves with it. One of Dale’s early attempts put the cast shadow on the wrong side of the ball because he forgot which direction the lamp was pointing. The sphere looked like it was floating off the page in the wrong dimension entirely. That failed shading attempt taught him to always mark the light source with a small arrow before starting.
Encourage slower pressure changes with the pencil. Layer gradually. Cause and effect in composition improve visual effectiveness in artwork, and shading is where that cause and effect becomes obvious.
Explore Color Without Buying Everything
Colored pencils are a gentle next step. Test colors on spare paper first to see how they layer, and start with a limited palette of three or four pencils rather than a full set. Watercolor pencils can be used for both drawing and painting, which makes them an interesting medium to try if you want to experiment without buying separate supplies.
Karen once tried a watercolor wash over a pencil sketch without practicing wet-on-dry control. The paper warped, the colors bled into each other, and the picture looked like something left out in the rain. She learned to use less water, let layers dry, and work on heavier paper. That experiment produced a terrible artwork and a useful lesson.
Include Digital Art as an Optional Next Step
Digital art is not required for beginners. Drawing on paper has no screen glare, no battery, and no learning curve beyond the pencil itself. Digital and traditional illustration includes techniques like sketching and digital painting, and both have their place. If you want to try, look for a free basic drawing app on whatever device you already own. The undo button is nice, but it can also lead you to fiddling instead of learning.
Learn the fundamentals on paper first. The skills transfer. Delay expensive tablets and styluses until curiosity genuinely demands them.
Build a Sustainable Drawing Routine
The timer is the most useful tool we have. Set it for ten or fifteen minutes, and when it rings, stop. It prevents fiddling with one corner for an hour and gives permission to walk away. Daily drawing practice contributes to artistic improvement, and improvement takes three to four weeks of daily drawing practice to become visible. But daily goals broke us. A missed day felt like failure, and two missed days felt like quitting. Three sessions a week is a rhythm we can actually hit.
It takes approximately 10,000 hours to become a pro artist. We are not trying to become pro artists. We are trying to create something on a Saturday and feel good about it. Choose a manageable rhythm, protect it, and let progress happen at whatever age or pace it happens.
Make Mistakes Useful
Dale once spent forty minutes on a sketch of a kitchen pepper grinder. The proportions were so far off it looked more like a fire hydrant. He wrote on the page: “top too wide, base too narrow, did not measure.” You need to make many mistakes to improve your drawing, and mistakes are essential for improving your drawing skills. Label what went wrong without judging yourself as a person. A month later he drew the same pepper grinder and got it closer. That comparison, bad page next to better page, was more satisfying than any single good drawing.
Stop Comparing My Drawings With Other People’s Art
Social media can create unrealistic art expectations because you only see polished, finished pages. You scroll past artwork from artists who have been drawing for decades and wonder why your mug looks wrong. Those feeds rarely show the hundreds of failed attempts behind the final image. The internet is full of curated galleries, not honest sketchbooks.
Compare your current work with a page from a few weeks ago. That is the useful competition. If the lines are steadier, if the shading has more depth, if you can see a shape more clearly, that is real progress. Mute or unfollow art feeds that make you feel bad. Follow ones where beginners share honest work, not followers counts. References for growth should be your own dated pages, not someone else’s highlight reel.
Drawing became significant as an art form around the late 15th century. The Renaissance brought sophistication to drawing techniques. Surrealism valued drawing as a predominant means of expression. Approximately 200 works from 90 artists were featured in a major drawing exhibition in recent years. The world has taken drawing seriously for centuries, and none of those categories required perfection from the start.
Finish With Low Pressure Drawing Ideas
Here are a few ideas for when nothing comes to mind:
-
Draw one household object: a shoe, a set of keys, a piece of food from the kitchen counter.
-
Make a seasonal doodle: a leaf, a snowflake outline, whatever is outside the window.
-
Sketch your favorite mug from three angles.
-
Keep a short list of ideas in the back of your pad so uninspired days have a fallback.
Community engagement in art includes participating in challenges and sharing timelapses, and if that appeals to you, try it. But it is not required. Do not wait until you feel prepared or inspired. A bad page costs only ten minutes. A blank page teaches nothing. Clear the table, pick up the pencil, and draw whatever is sitting in front of you.
FAQ
Is drawism a real art movement? Not as far as we can tell. It is an informal word, and we use it for a casual, regular drawing habit. You will not find it in art history textbooks alongside Surrealism or Impressionism.
What do I need to begin? A pencil, an eraser, and some paper. Add a sketchbook or softer pencil later if you enjoy it.
How often should I draw? About three short sessions a week works for us. It takes three to four weeks of regular practice to see improvement, so consistency matters more than marathon sessions.
What should a beginner draw first? Plain objects at home: a mug, a shoe, or a piece of fruit. Anything that stays still and has a recognizable shape.
What if my drawings are bad? Most early ones are. Expect that. Keep and date the pages, and look back after a month or two. The creativity is in the doing, not in the result.